So onto what I have and what I want.
Currently I have.
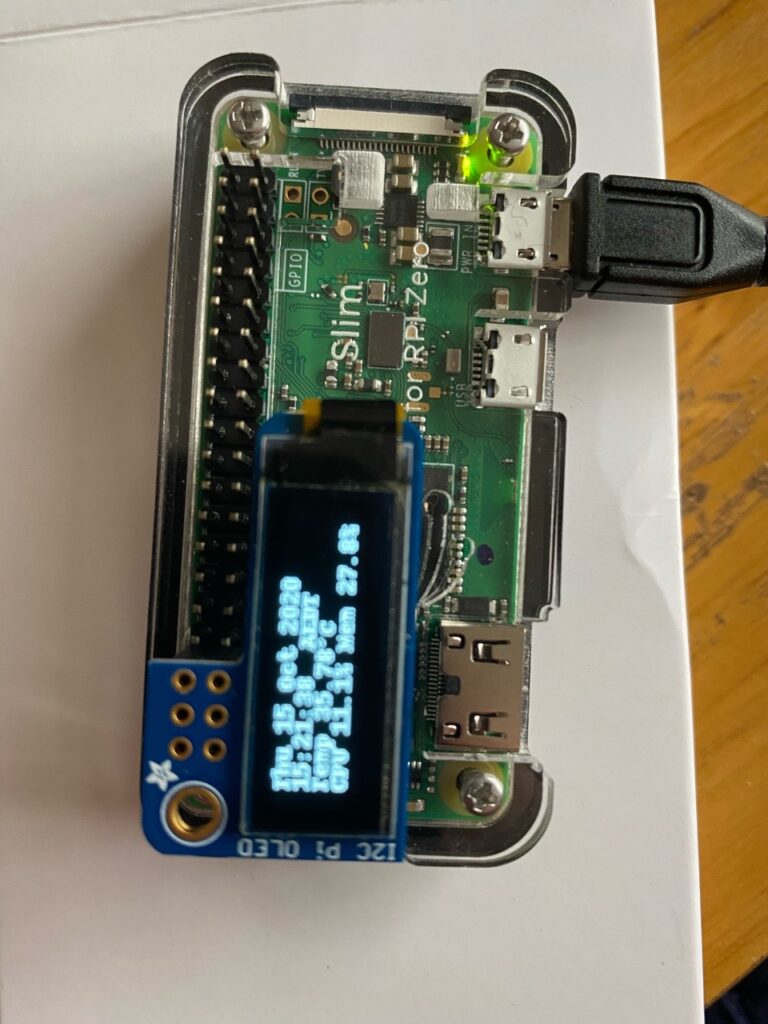
- A Pi-Zero-W running Buster acting as a GPS disciplined stratum 1 time server for my LAN. I need an accurate time source on my LAN for Amateur Radio purposes. It is also my second caching only name server using “dnsmasq”.
- A Pi 4 4 GB media player running Buster. Mostly used to play downloaded TV series and movies with VLC. We use Buster as it seems to be able to make sense of the dodgy data the TV issues. With Bullseye or Bookworm we always have the taskbar and a fair bit of the moving image “off the screen”. This renders the whole thing unusable. And yes. I’ve tried setting the resolution in “cmdline.txt and config.txt, I’ve tried going back to “fkms”, etc. but I’m unable to resolve the issue. I can make things fit OK but at the expense of the frame rate. Lots of dropped frames which make things unwatchable.
- Another Pi 4 but this one is only 1GB. It is my NAS with 10 TB of attached storage. Photos, documents, home movies, etc. This is the family collection – old super and standard 8 movies, old Betamax and VHS family movies, slides, etc. All digitised. It is also where our desktop backups go. Every couple of months or so a backup of all the family stuff is taken and stored off site. It took a LOT of time and effort to get it all digitised and I’d rather not spend that amount of time doing it all again.
- A Pi 3B+ running Bullseye which runs this web server, dnsmask, TVHeadend and is my stratum 2 backup time server synchronised to my Pi-Zero W with a couple of public stratum 1 time servers as fallback. It’s still on Bullseye because try as I might I simply cannot get TVHeadend to work correctly on Bookworm.
- A Pi-4 4GB running Bookworm which I use for downloading, etc. It sits in the corner and does very little.
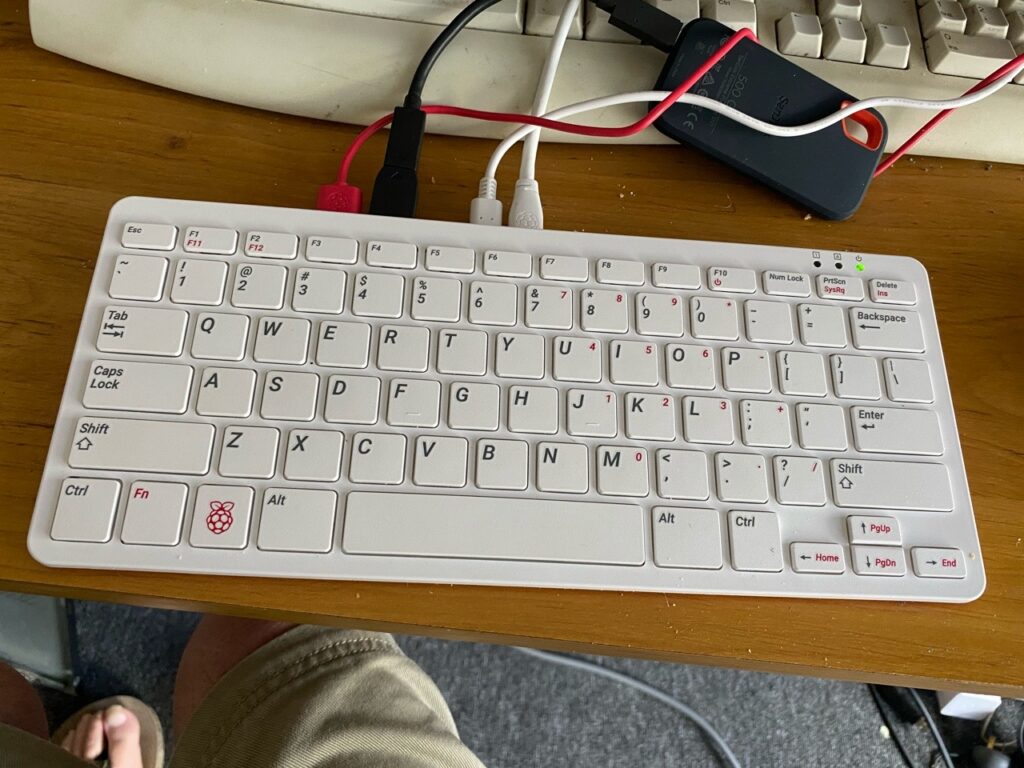
- A Pi-400 which basically sits on the shelf not even plugged in. I lost patience with its dodgy keyboard so it sits unloved and unused.
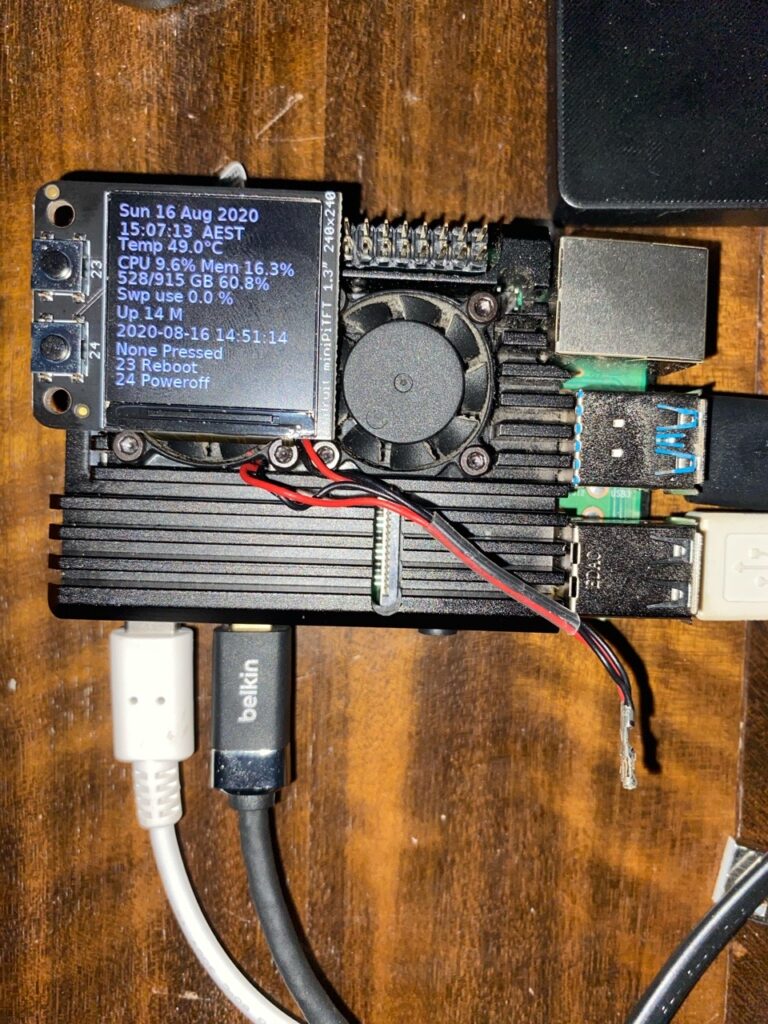
- And lastly, I have a Pi-4 4GB with Bullseye which is my daily driver desktop Pi. It has all the usual desktop stuff plus my Amateur Radio stuff on it. It prints, it scans, it’s got LIBRE Office, it’s got a few browsers (just for fun), and it’s where all my “work in progress” stuff lives. Why not Bookworm ? Because with all the daily driver and Amateur Radio stuff it’s just a long winded job and so far I can’t seem to find a few hours to “have at it”.
What I would like to have.
- A Pi-3b+ with the GPS disciplined clock as a stratum 1 time server and dnsmasq as my second DNS.
- A Pi-5 4GB as my media player as it can stream my free streaming services – SBS On Demand, ABC iView, 7+ and 10Play. I’ll also use it to play TV series and movies with VLC.
- A Pi-4 1GB NAS with all its attached storage.
- A Pi-4 4GB as my download and test system with Bookworm.
- A Pi-4 4GB server. It’ll be the web server and DNS (dnsmasq).
- A Pi-5 8GB as my desktop with LIBRE Office as well as my amateur radio stuff and G.I.M.P.
- The Pi-Zero will go to the shelf to keep the Pi-400 company.
All of the Pi’s will be running Bookworm apart from the server which needs Bullseye for TVHeadend which, so far, doesn’t play well with Bookworm.
How to get from what I’ve got to what I want
And so another reorganisation is in the works.
Using the Pi Imager I flashed a spare USB -3 SATA SSD with the full version of Bookworm. I stopped there and set up the Pi-5 and let it do its thing which only took but a few minutes. After that I configured it with the assigned IP address using “nmtui” and I was ready to start installing the required bits and pieces. Some things were easy and other things not so much. The easiest of all was chromium-browser and thunderbird. I just “rsync” to move the required directories in “~/.config” from the old SSD to the new one. That worked extremely well.
The next thing was to get the Amateur Radio stuff installed and configured. It wasn’t as simple but it was a bit time consuming I got it done OK with rsync making itself very useful again. Moving the “work in progress” stuff was a doddle – “rsync” came in very handy again.
The whole process took only a couple of hours. At this stage I really don’t know what all my angst was about. It was way easier than I feared.
I now have a Pi-5 8GB daily driver desktop. First impression is that it’s really zippy compared to the Pi-4 4GB. Now all I have to do is to copy all the rest of the “stuff” from the Bullseye SSD to the Bookworm one. Should be a doddle.
I’ve tried the Pi-5 as a media player. Much, much better than the Pi-4 that I’m currently using so I can see another Pi-5 in my future. It still has trouble with the screen edges but I have found a way to overcome that with “video=HDMI-A-1:margin_left=50,margin_right=50,margin_top=24,margin_bottom=24” at the end of cmdline.txt. Doing that with a Pi-4 and Bookworm or Bullseye caused unacceptable stuttering and dropped frames whether I’m using X11 or Wayland. With the Pi-5 no such problem exists.
What I ended up with
Despite all my musings I ended up with a configuration a bit different to what I originally had in mind. Here it is :-
- A Pi5 8GB as a desktop / amateur radio Pi with the full Bookworm.
- A Pi5 4GB as my media player / streaming Pi with full bookworm.
- A Pi4 4GB as my web server running headless with Bookworm lite. The web server is Apache2 with PhP, MariaDB, etc. It also is my primary local DNS with dnsmasq.
- A Pi4 1GB as my NAS with about 10TB of attached storage running Bookworm Lite headless.
- A Pi4 4GB that I use to upload and download “stuff” and as a local proxy server. Running Bookworm headless. It is also used as a test system as it doesn’t have that much to reinstall when and if it all goes pear shaped.
- A Pi-zero W running Bullseye Lite headless as a GPS disciplined time server. I’m sticking with Bullseye as its easier to deal with the GPS and the NTP server. It’s also the second DNS (dnsmasq).
- A Pi3 B+ running Buster headless so that I can run an older version of TVHeadend which works without a lot of messing around. I believe that TVHeadend started a downhill slide with the release of a new version around the same time that Bullseye hit the streets so I’ve stuck with the older TVHeadend on Buster. The Pi3 works well in this situation.
- My Pi-400 remains on the shelf as a spare should one of the others pack up.
Both of the Pi-5’s have the Argon NEO 5 case with a 2TB Kingston NVME SSD for the media Pi-5 and a 500GB Kingston NVME for the desktop Pi-5. They both boot from NVME. I decided to go with the NVME SSD’s as they are a lot tidier – no USB-3 SSD’s dangling about. Performance wise the media player Pi-5 is still about the same as it does little intensive I/O stuff. The desktop, on the other hand, does a deal of intensive I/O stuff and is notably snappier. Editing and batch processing large photos (TIFF) and movies as well as transcoding videos using ffmpeg gets through a lot of memory and makes good use of the swapfile. I realise that spinning rust will give me more MB / $ but at the expense of having power supplies and cables all around the place which I would like to avoid as much as I can.
So there you have it
Apart from neatening the cables up and tidying up the storage it’s all done. It was all accomplished without losing anything and freed up a couple of SSD’s for whatever else I can dream up. During the process there were only a few headbanging moments – mostly NTPSEC related – but it all worked out in the end.
Because I’m a “fiddler” the whole shebang will be in a constant state of change which provides me with hours of entertainment and learning.
That’s it, at least until the next latest and greatest “thing” is unleashed by the good folks at Pi Towers whether it be hardware or OS or other software. I’ve only had Pi-s for a few years starting with a Pi-4 1GB and I now have six of them all serving their own purpose(s). Of course I could have easily accomplished the whole lot with a second hand laptop running Debian but where’s the fun in that ?